Salted Chocolate Chip Cookies
This post is sponsored by the makers of Ball® home canning products.
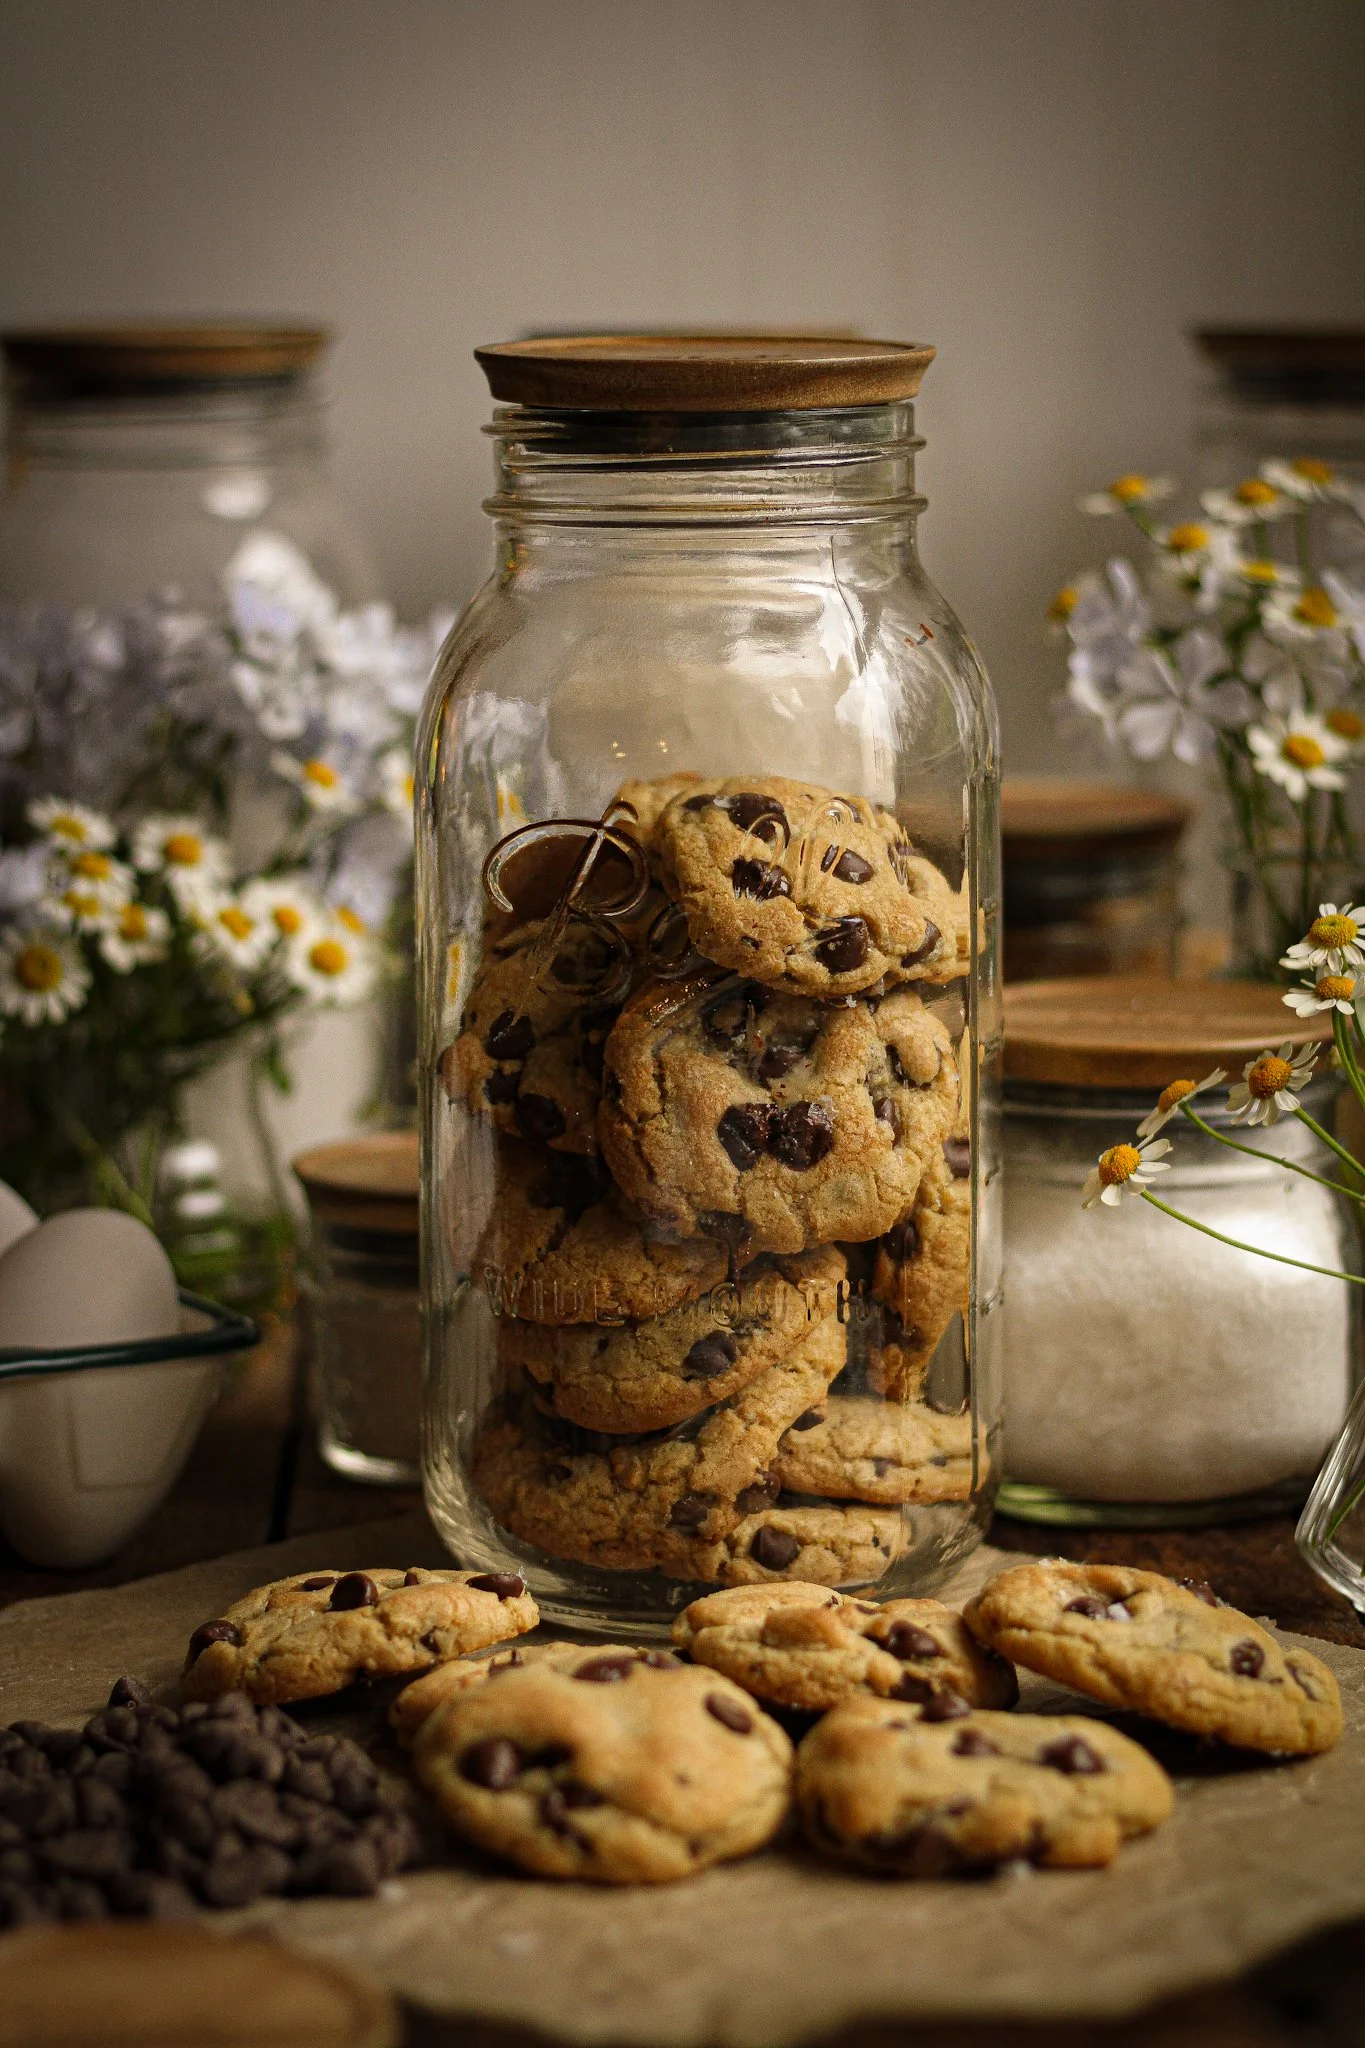
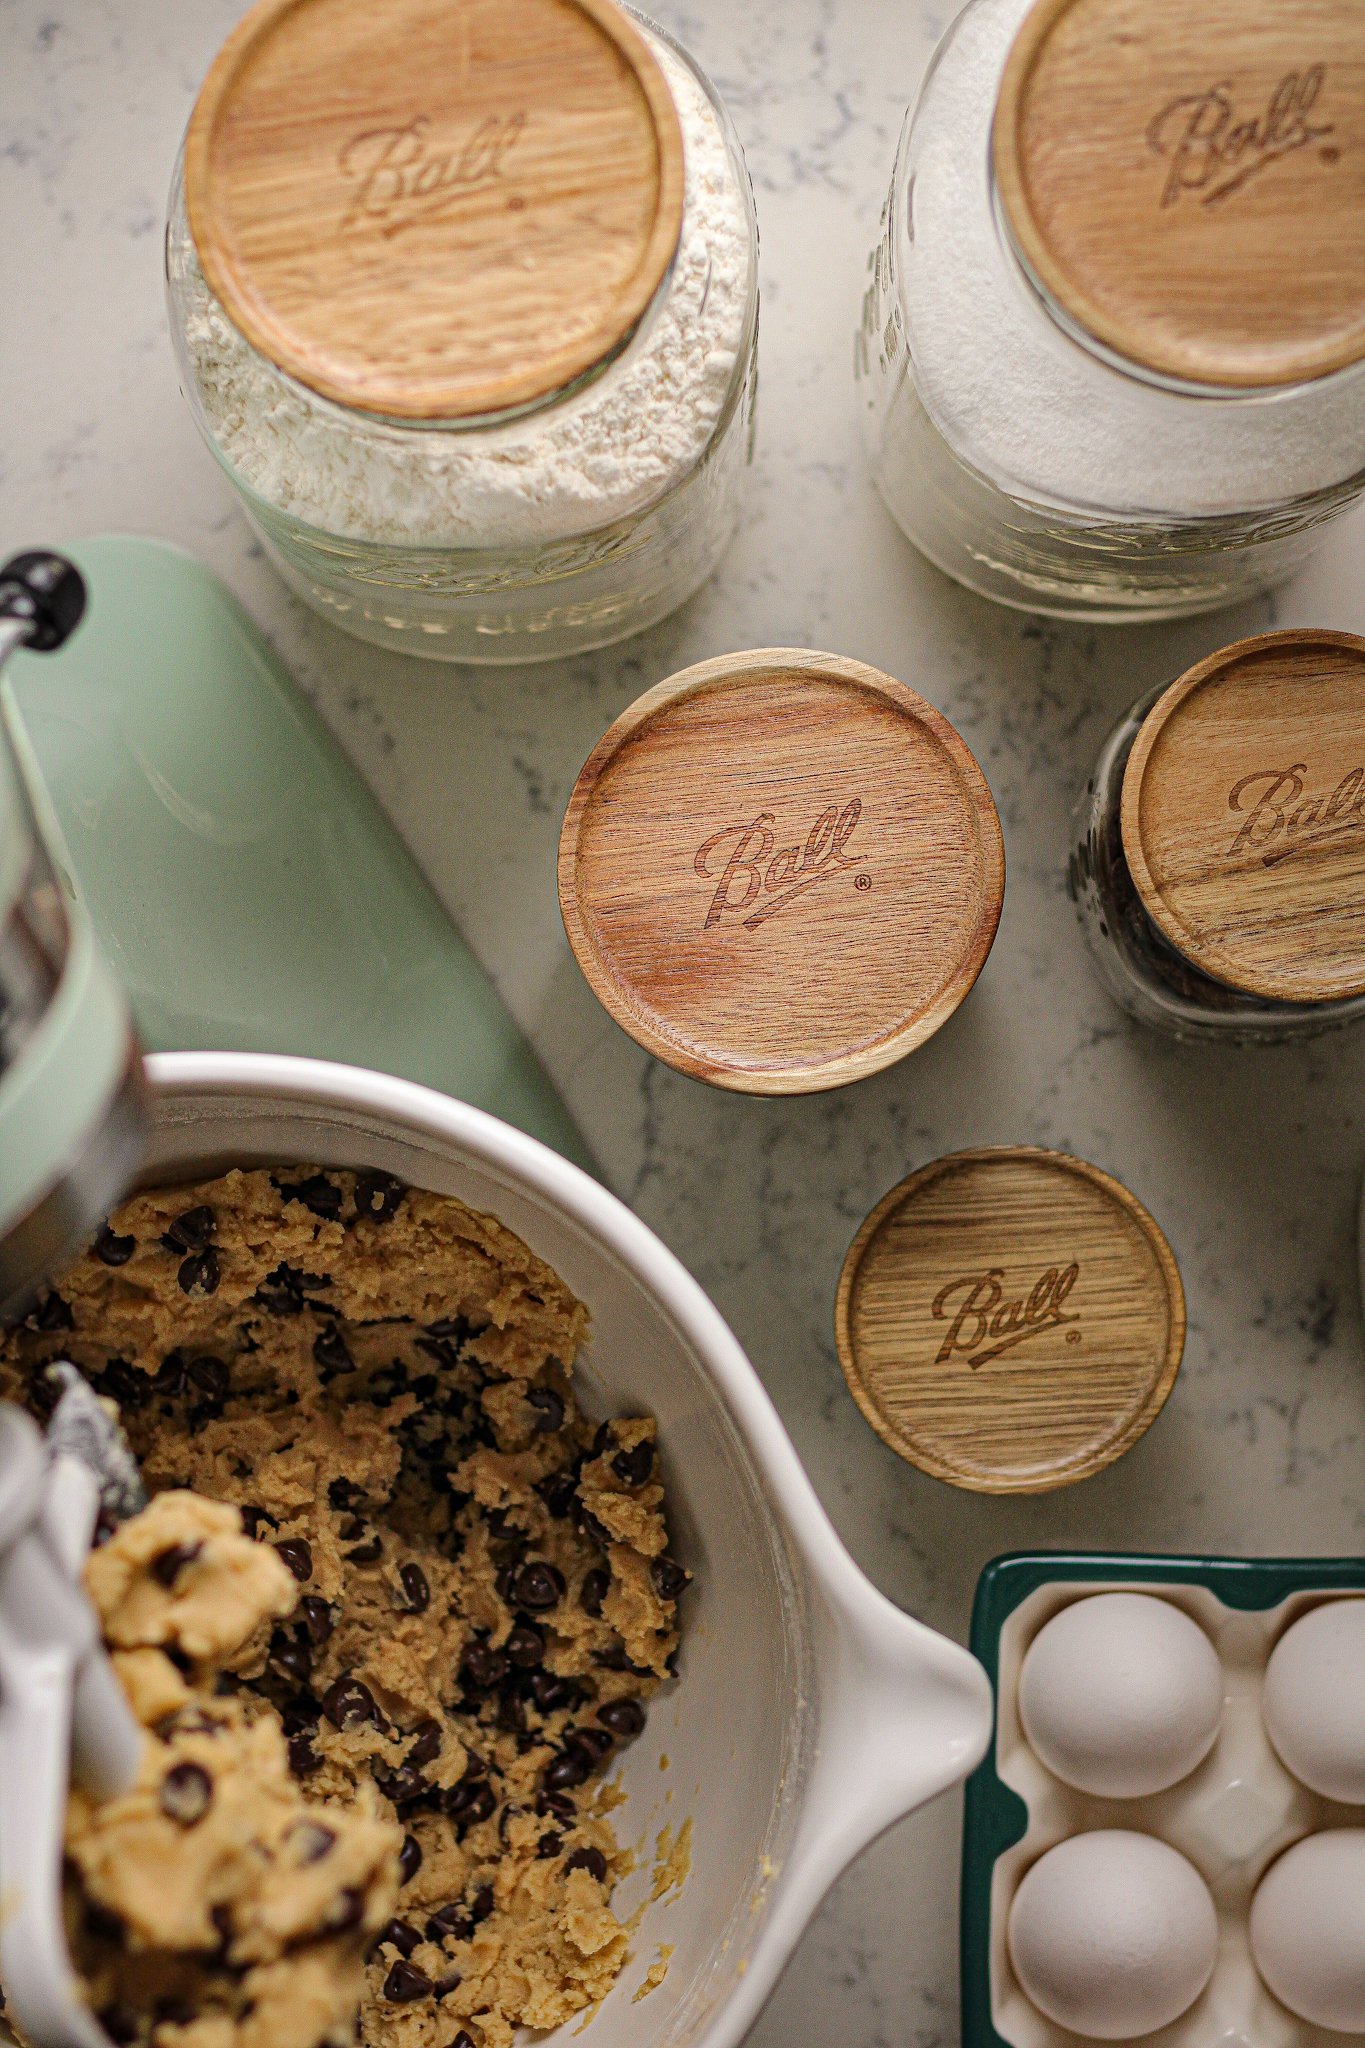
I have been baking up a storm lately while impatiently waiting to plant the garden. The more I bake the more I realize how badly I need to organize my supplies. Enter the makers of Ball® Home Canning products to save the day with their gorgeous Acacia Wooden Lids and classically beautiful glass jars. I have noticed the times that baking becomes more of a chore is when each ingredient is hard to find or difficult to get to.
With warmer weather on the way I will be outside more. While I still have the free time I have decided to get as much organizing done as possible. Drawers, closets, and even little things like getting your baking supplies out of the pantry and onto the counter. These small improvements make such a difference. I also like knowing that they are safe and fresh with an airtight seal. It gives me peace of mind that I won’t have spoiled flour or hard, clumpy sugar. It really helps that they’re beautiful, too! You can get your very own here.
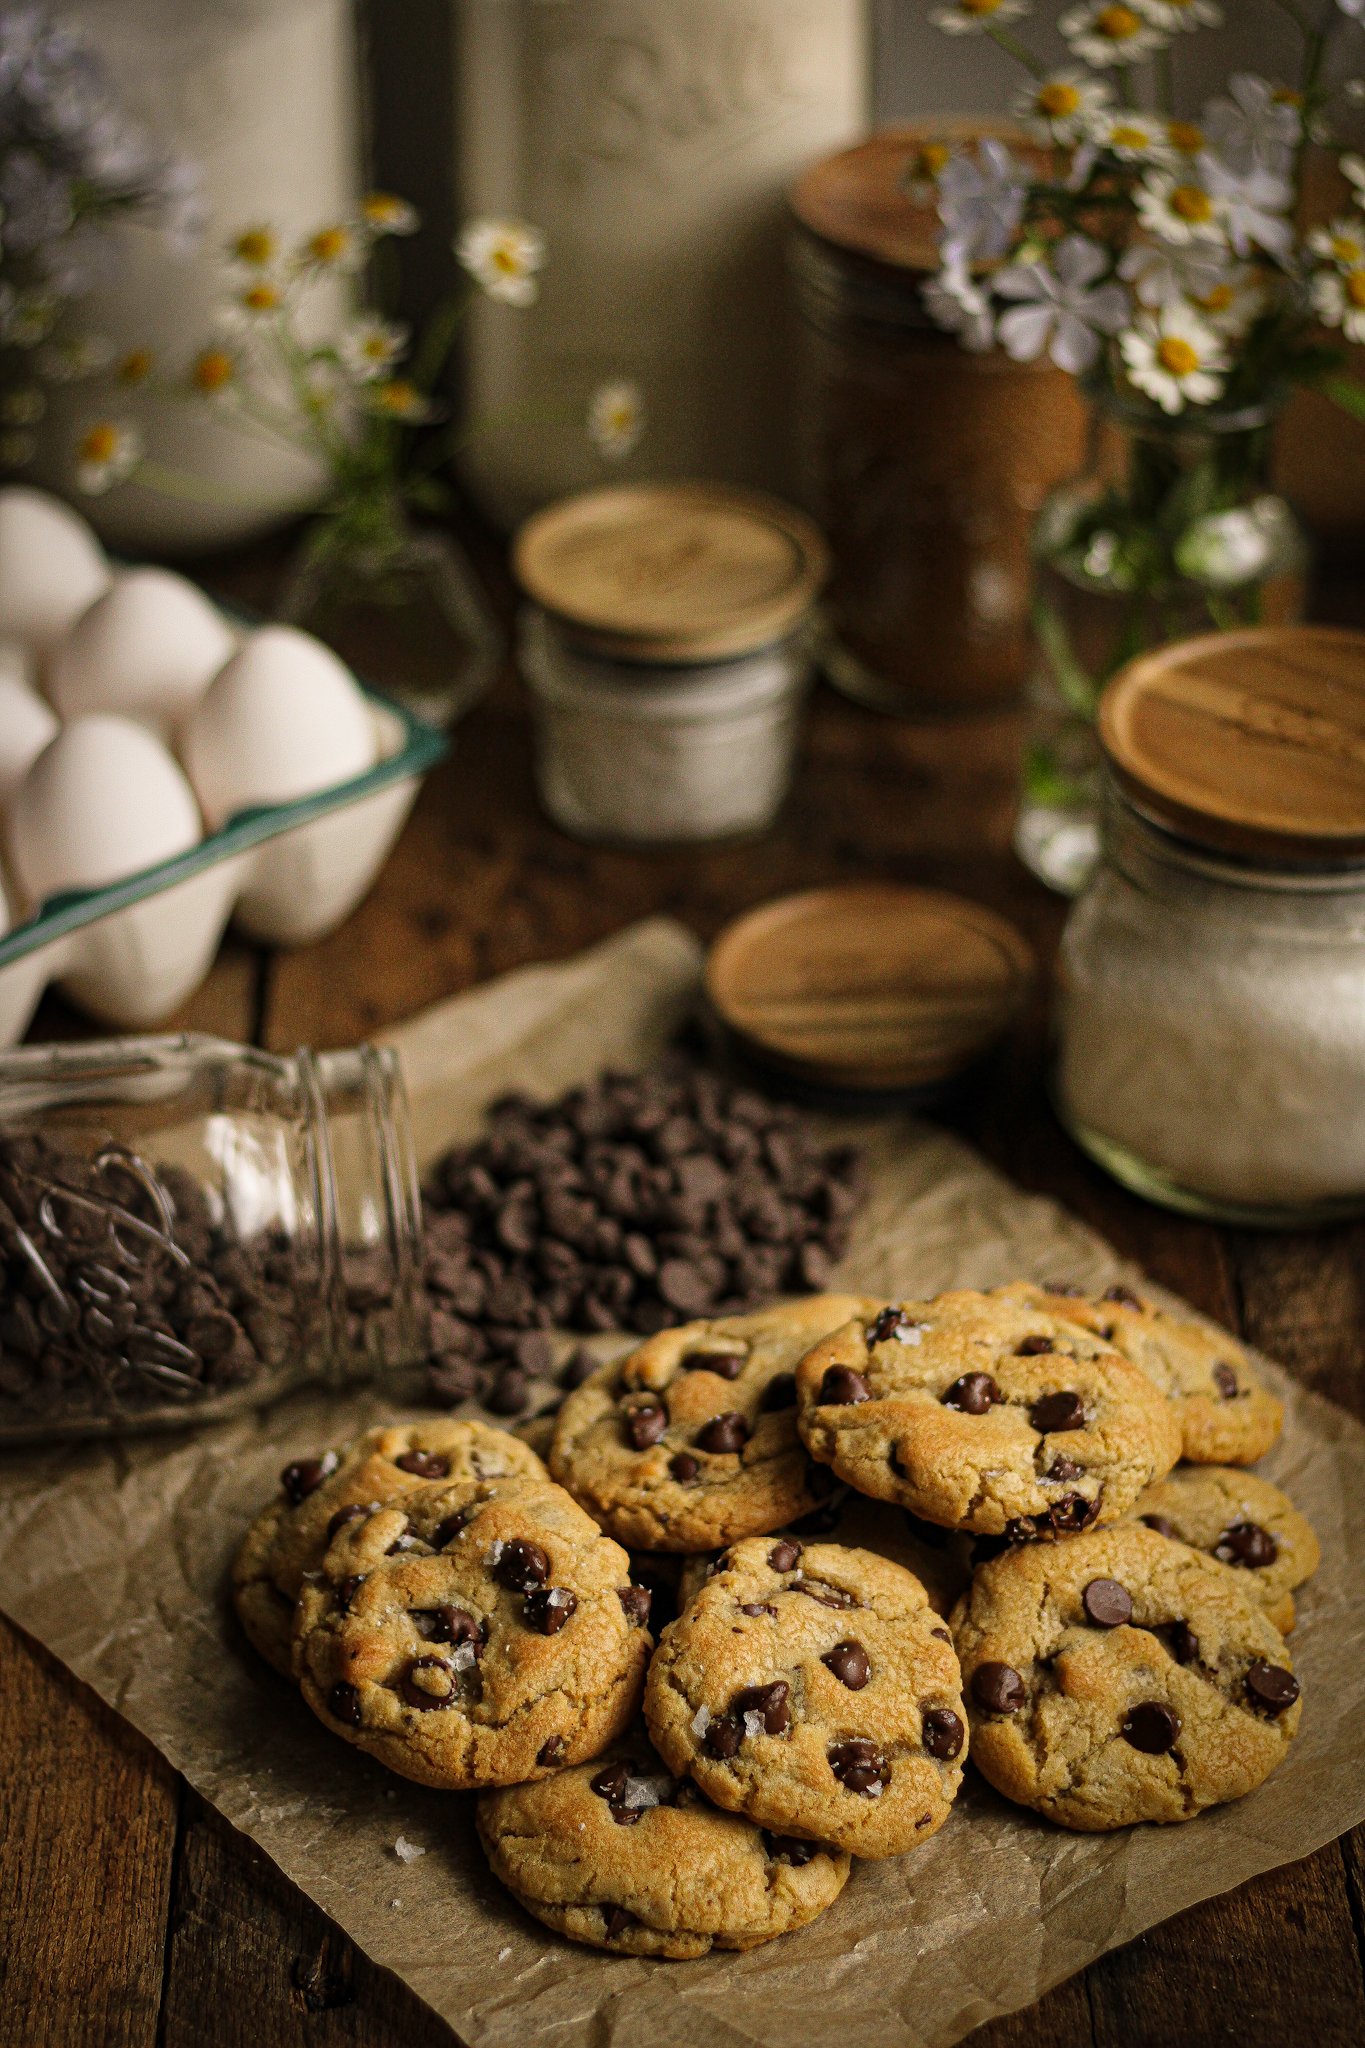
Today I decided to make my classic chocolate chip cookies to have on hand as snacks while we are plowing the garden and planting. These satisfy my sweet tooth and give me energy to keep on going! The airtight wooden lids will keep everything fresh and safe until my hand comes to steal 1… or 10.
Let’s make some cookies!
Ingredients:
1 1/2 cups butter flavored shortening
1 tbs milk
1 1/2 cups granulated sugar
1 1/2 cups firmly packed brown sugar
4 large eggs (or 1 cup apple sauce for vegan)
2 teaspoons vanilla extract
4 3/4 cups all-purpose flour
2 teaspoons baking soda
1 1/2 teaspoons salt
2 (12-ounce) packages semisweet chocolate chips/morsels/chunks + more for topping
In a large bowl sift together the flour, baking soda, and salt. Set aside.
Add the shortening, sugars and milk to your stand mixer bowl. Beat at medium speed for 2 minutes. Scrape the bowl to make sure everything is evenly incorporated. Add the eggs in one at a time as well as the vanilla. Mix until fully incorporated. Stop to scrape the bowl as needed. Turn the mixer to low and begin adding the flour mixture slowly. Once all the flour is added scrape the bowl again. Often there are unmixed bits in the bottom.
With the mixer set to low add in the chocolate chips. Mix just until combined. This takes only a few seconds.
Transfer dough to an airtight container and place in the fridge for a minimum of 8 hours.
Once chilled ball out the cookies using a teaspoon or a small cookie scoop.
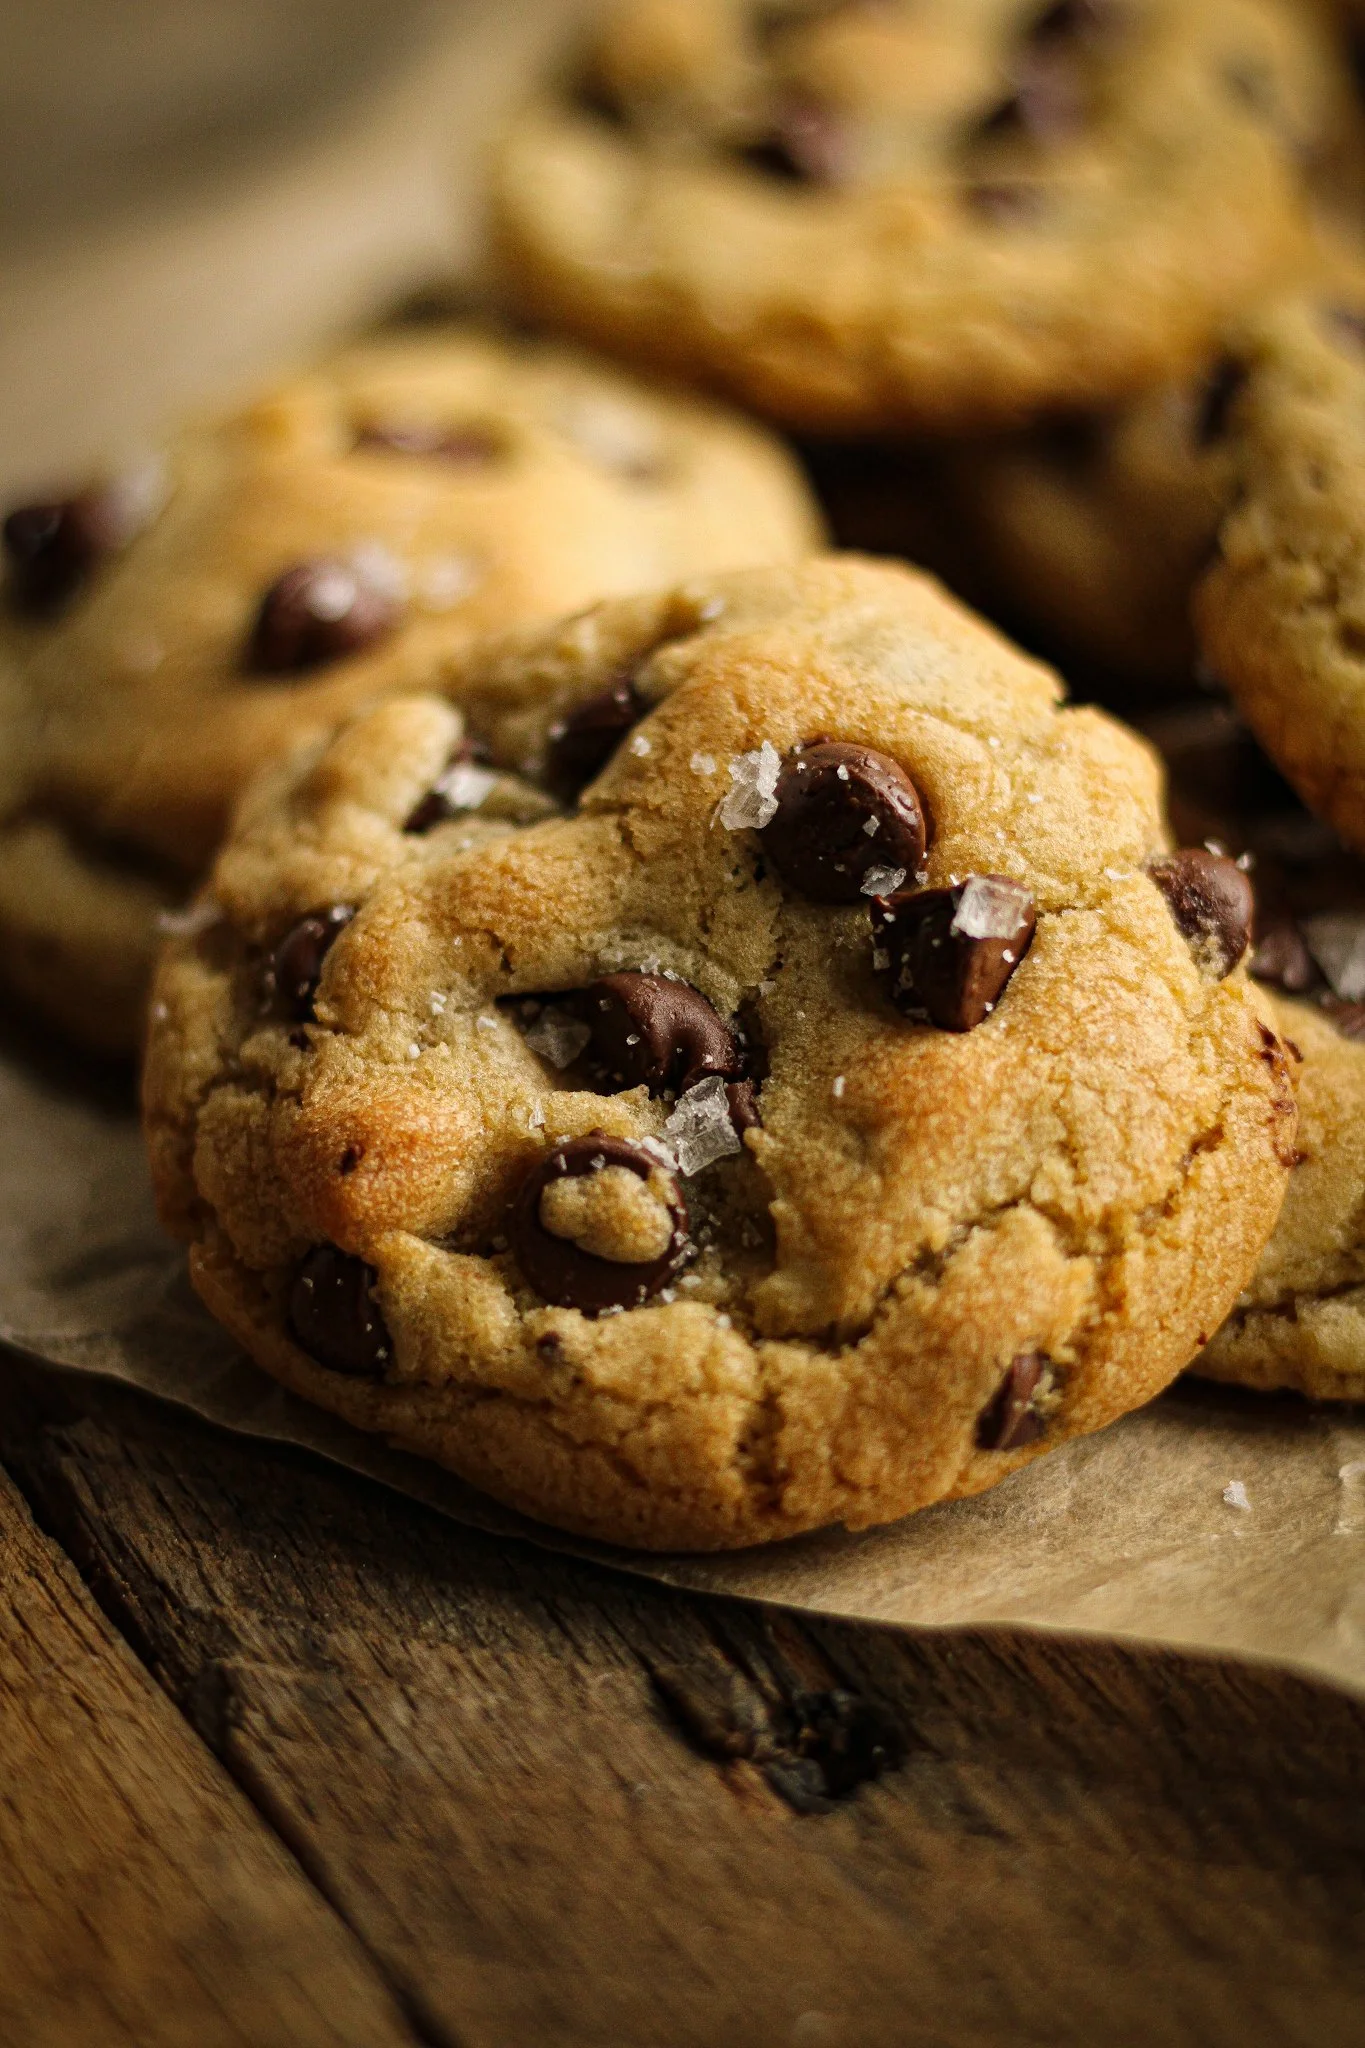
Add extra chocolate chips if desired. Bake at 375° for 10 to 12 minutes or until desired degree of doneness. Immediately top each cookie with a pinch of flaky salt. Allow to cool on pan 5 minutes before transferring to a wire rack. Allow to cool on wire rack completely before transferring them to your Ball® jars to keep the fresh.
Cookie dough “cures” as it is allowed to sit longer. My ideal curing time is 2 days.
Use a small scoop for the cookies. This allows the cookies to be evenly cooked. The edges are just barely browned and the middle is cooked but still soft.
It is best to chill the dough again after being balled out for 30 minutes before baking. However, this is optional.
Shortening makes for a softer, fluffier cookie with a mild flavor that truly allows the chocolate to shine through.
These cookies can be frozen. The best way to freeze them is to go ahead and ball them out. Then flash freeze them and transfer them to a freezer safe container. Then anytime you’d like a cookie you can simply pop out the number you want!
Cookie dough lasts 5 days in the fridge and 6 months in the freezer.
Place a piece of bread in the container with your cooked cookies to keep them soft.
This recipe makes approximately 80 average sized cookies. It can easily be halved, but I suggest just freezing the additional dough. Having cookies on hand is ALWAYS a good idea.
Replace each egg with 1/4 cup (1 cup total) apple sauce to make recipe vegan.
*Disclosure: This is a sponsored post that is part of an ongoing partnership with the Fresh Preserving Division of Newell Brands. They have provided jars, equipment and monetary compensation. All thoughts and opinions expressed remain my own.


